Mt Solitary Walk - 30 - 31 July 2011
All images © David Noble. No image can be used for any purpose
without permission.
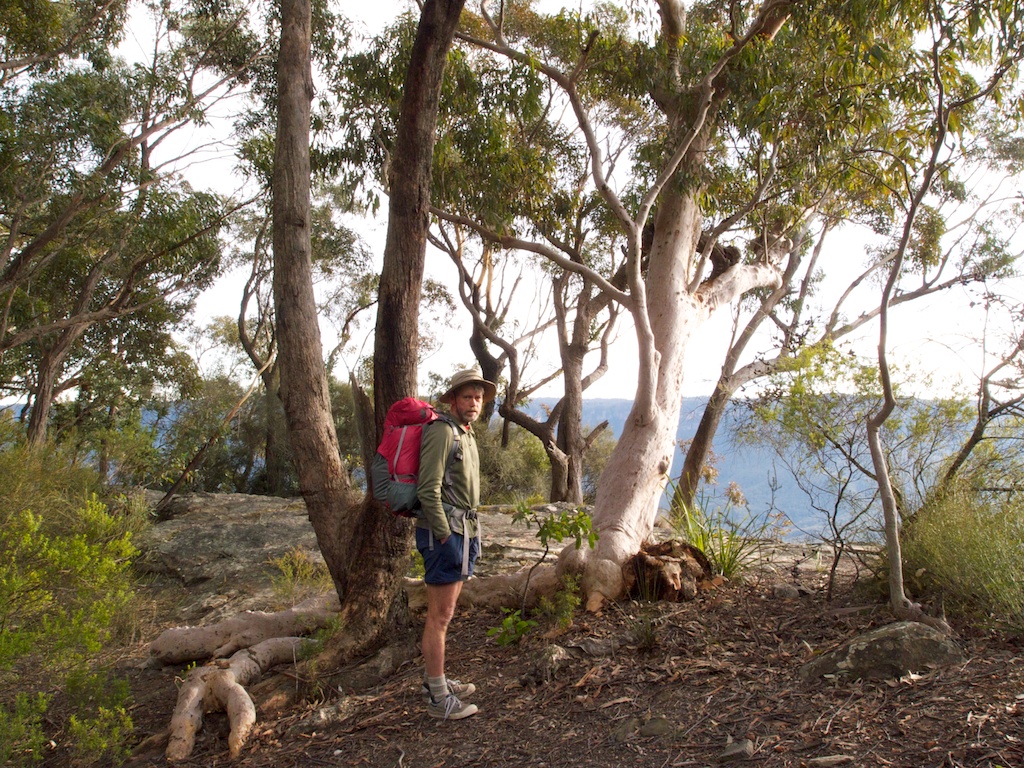
This was a solo walk

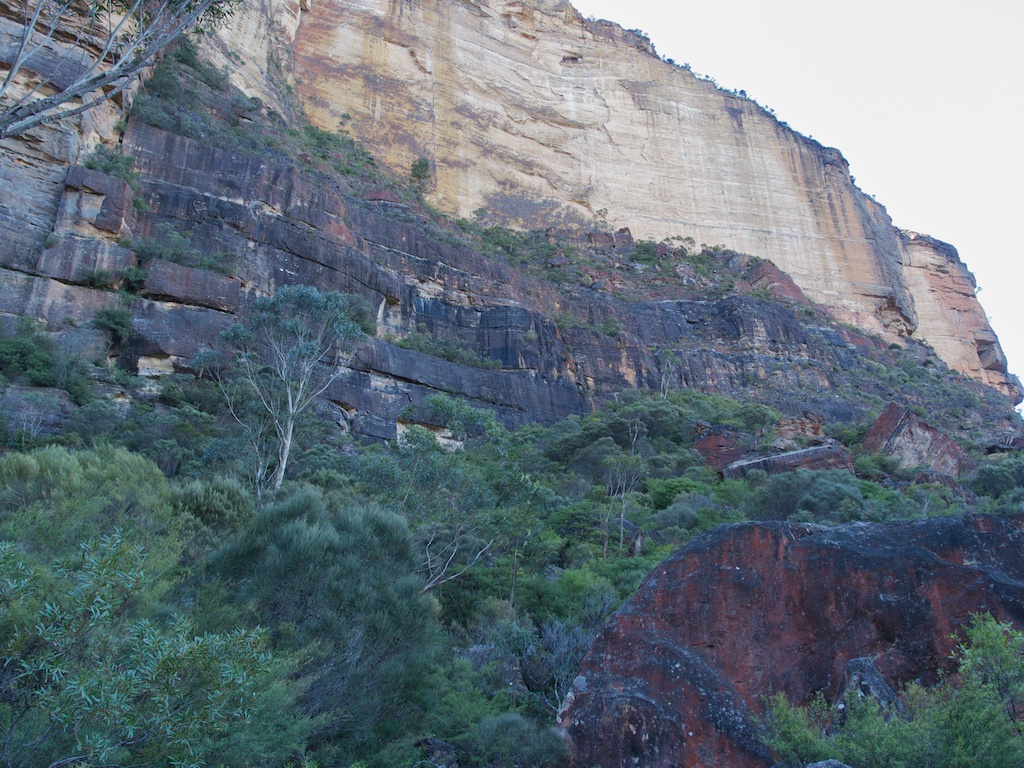
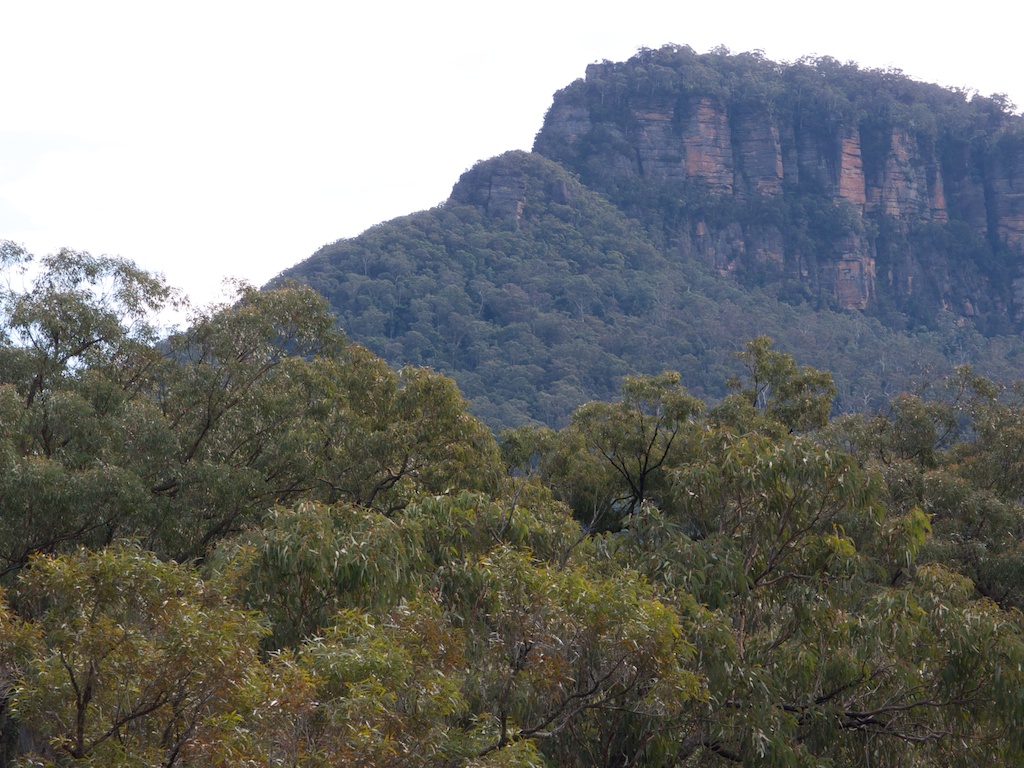
Above - Mt Solitary from the Furber Stairs
Above - The Dogface

Above - the Old Tramway Track on the way to the Ruined Castle

Above - old adit near the Ruined Castle
Above - Ruined Castle from Mt Solitary

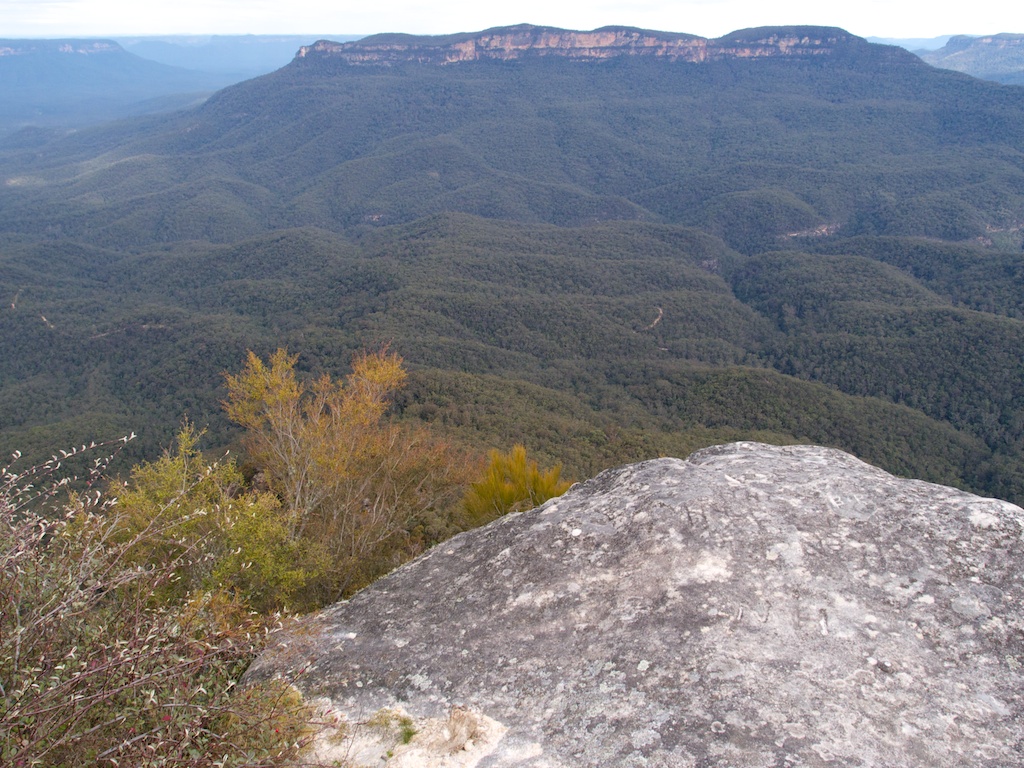
Above - view south of the High Gangerang Range and Kanangra Walls

Above - Point Repulse and Korrowall Buttress

Above - cliffs on the north side of Mt Solitary
Above - the "Jesus" tree - thankfully healing
Above - looking south east
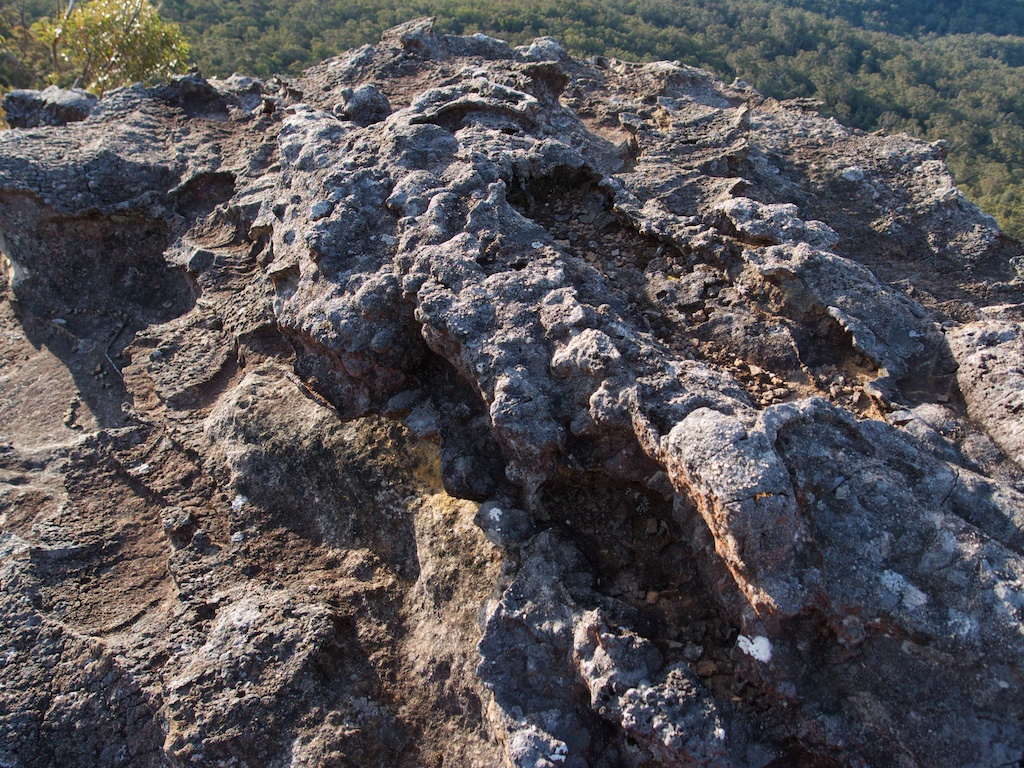
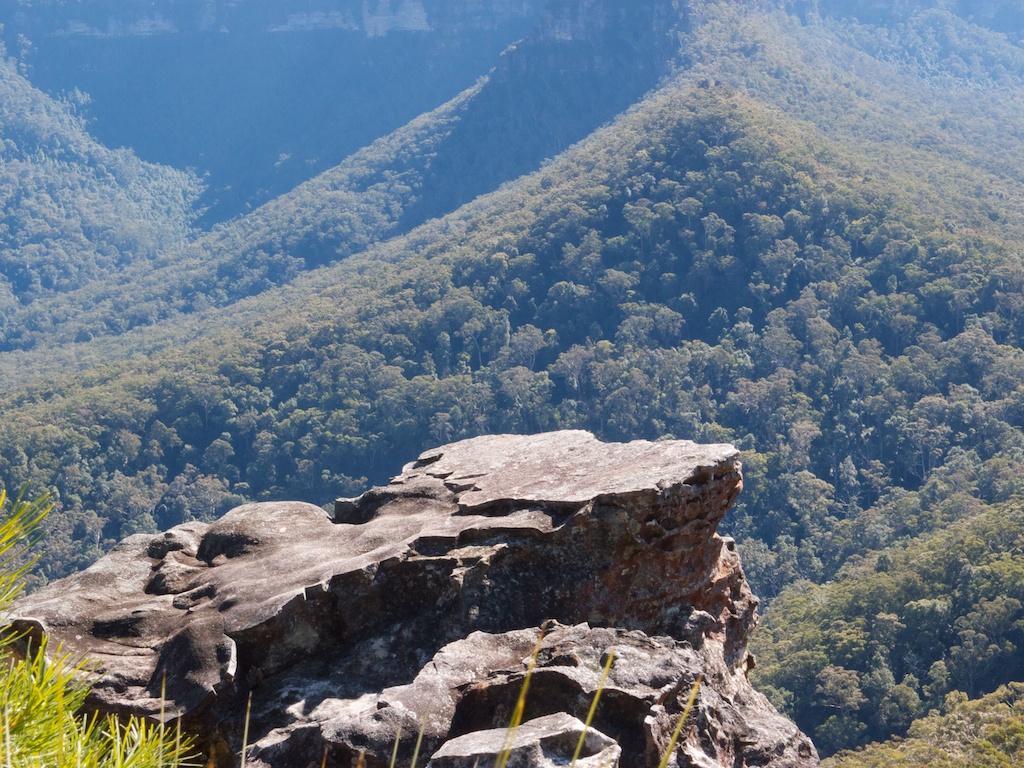
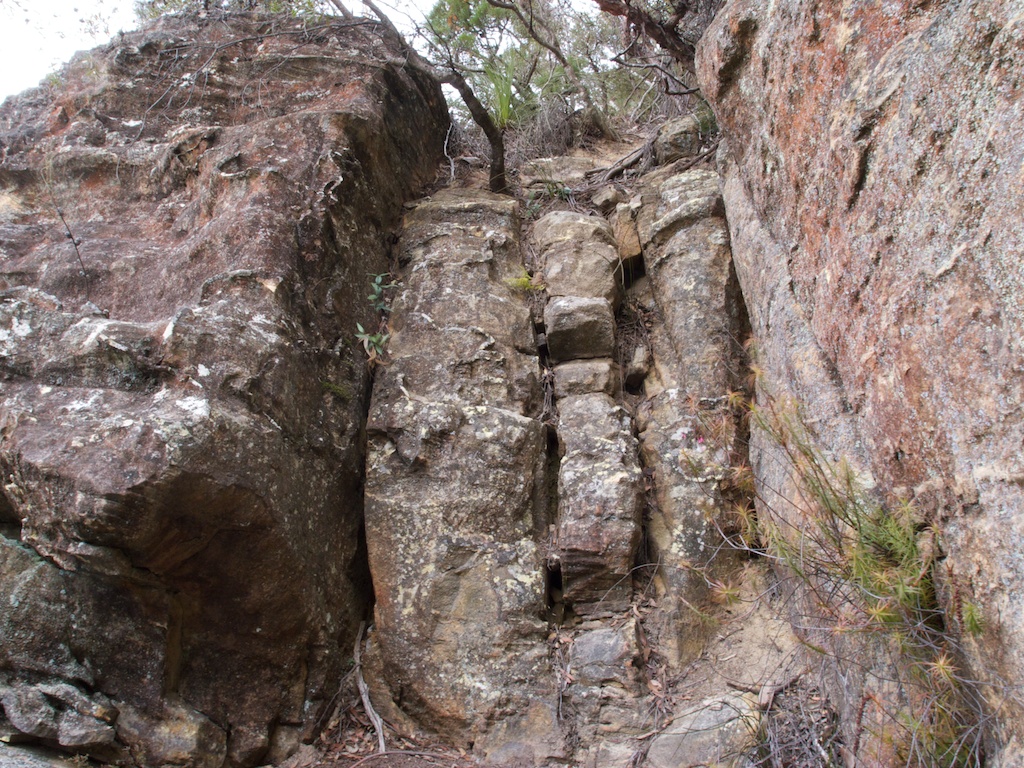
Above - rock formation
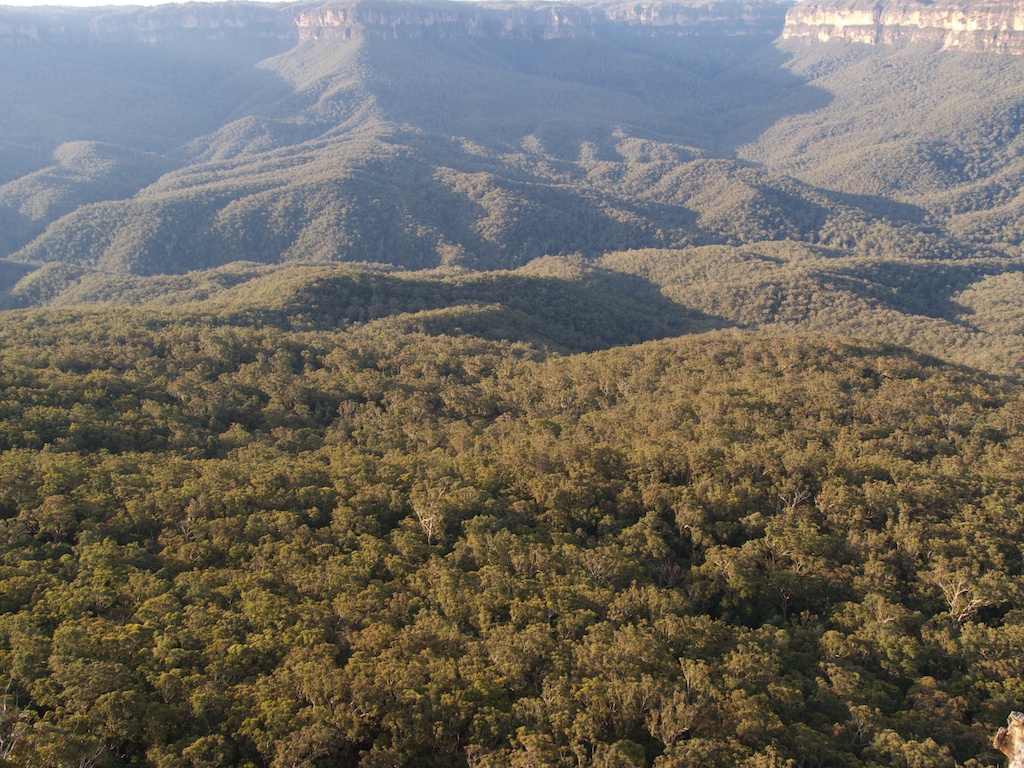
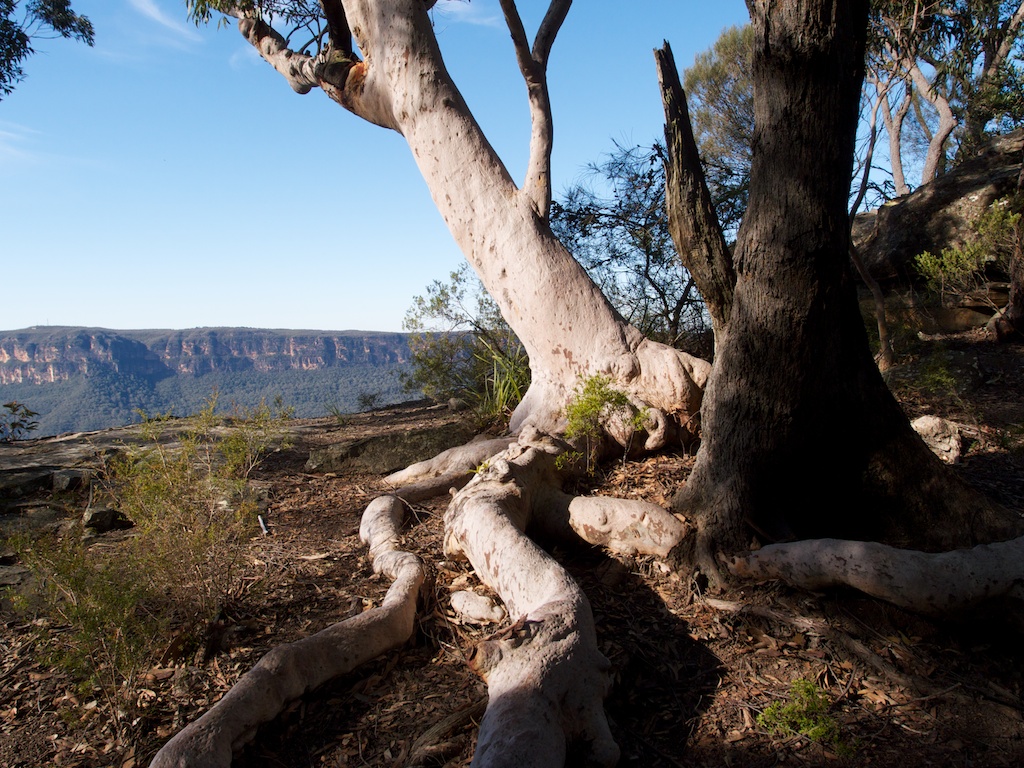
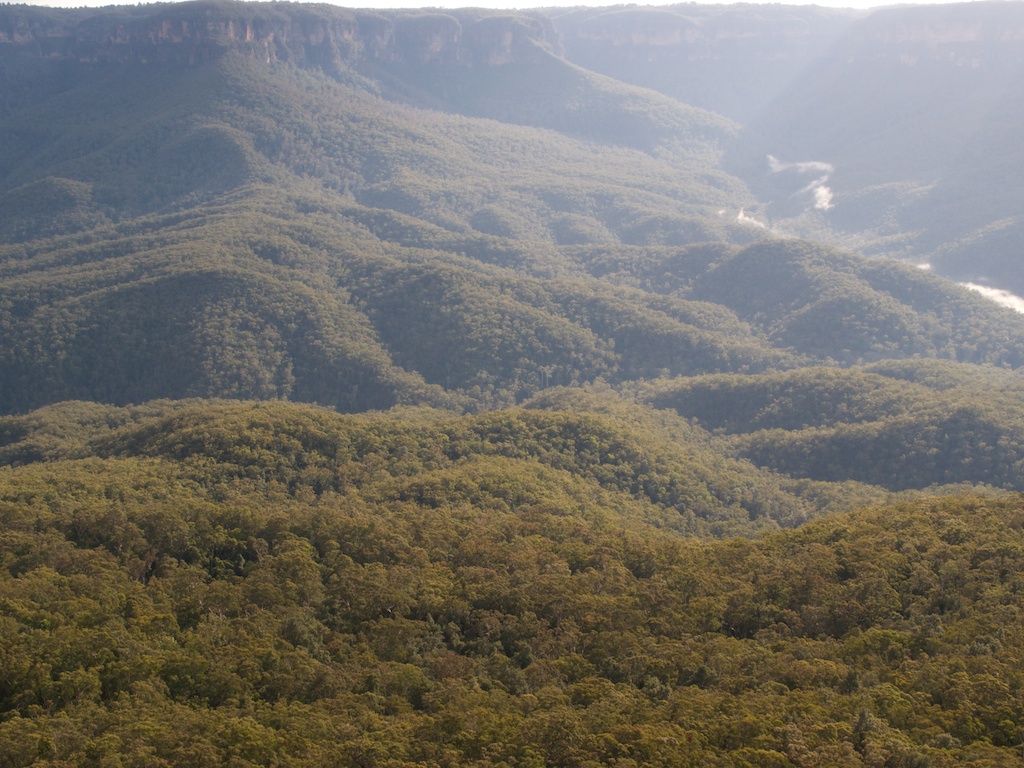
Above - Jamison Valley
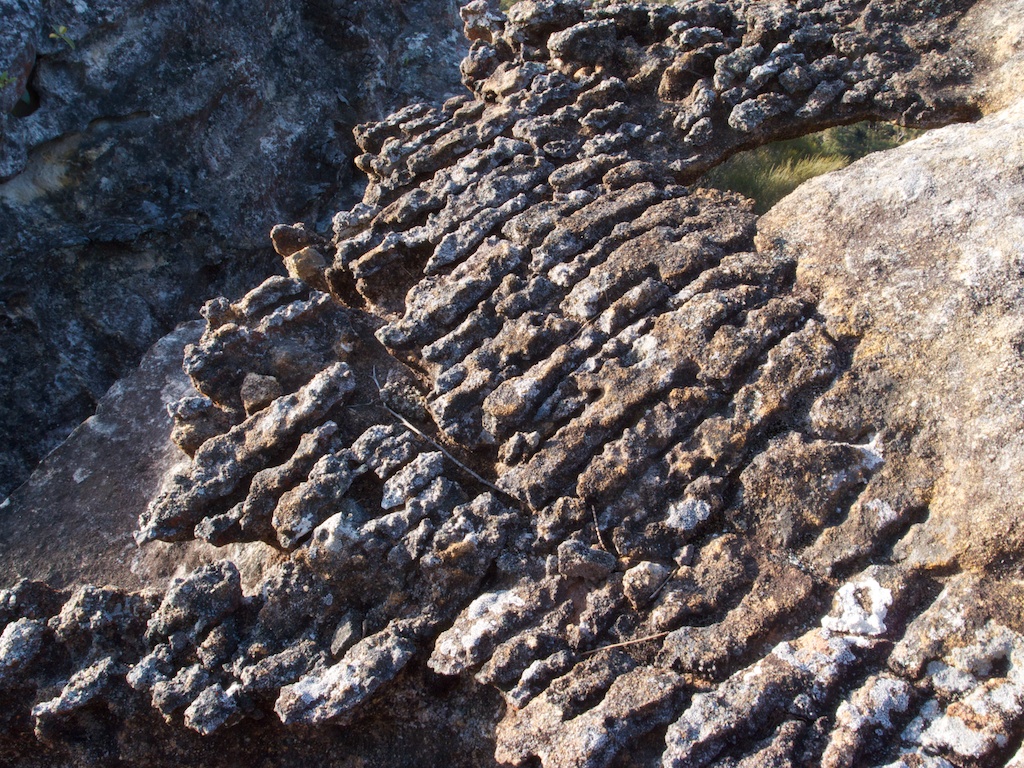
Above - rock formation

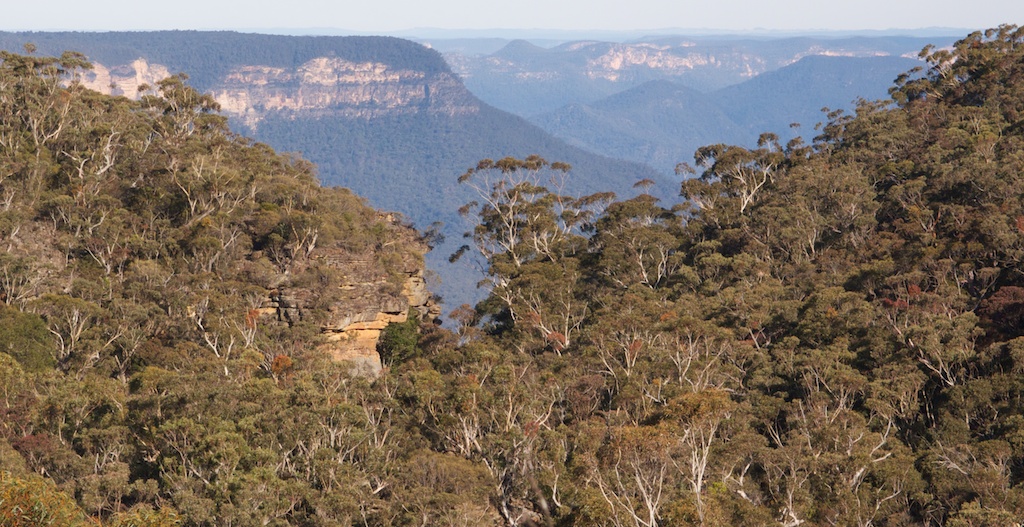
Above - Jamison Valley

Above - Jamison Valley - dusk

Above - dawn
Above - Jamison Valley - dawn
Above - setting out

Above - on the old Miners Pass
Above - looking back up a short easy scramble on the Miners Pass

Above - looking up the MIners Pass from the bottom. Note the small duck
on the right
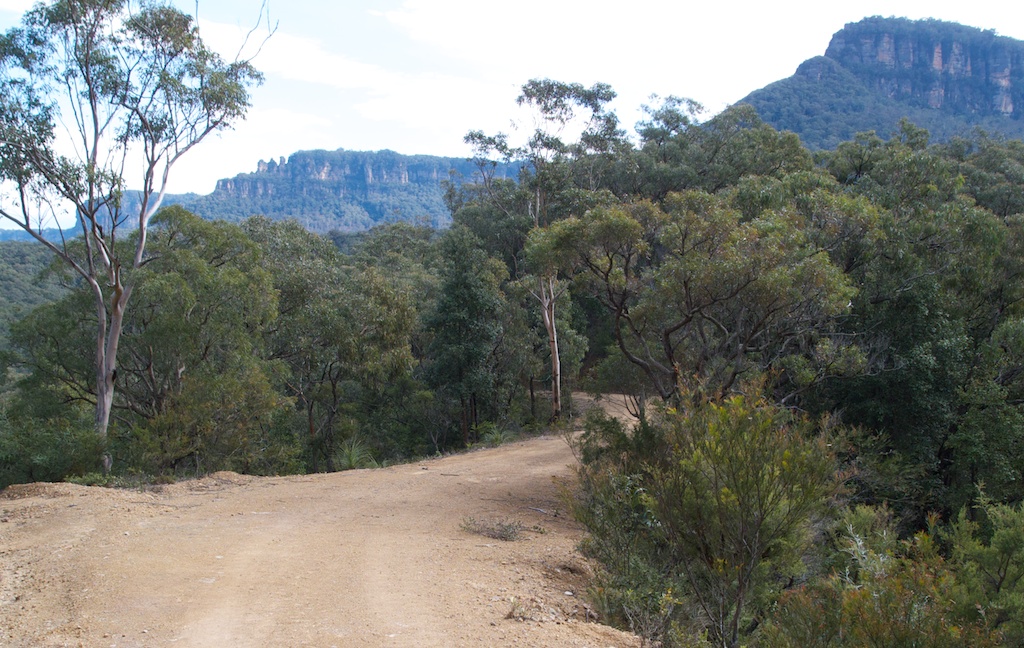
Above - on the sewer road to Sublime Point
Above - Sublime Point
Above - Mt Solitary from Sublime Point
Return to david-noble.net