Narrow Neck Passes - Mitchells Creek and Rock Pile Pass - 15
June 2016
All images © David Noble. No image can be used for any purpose
without permission.
Party - Bob, Dave
Above - Mt Solitary and the Jamison Valley from near the start of
Narrow Neck

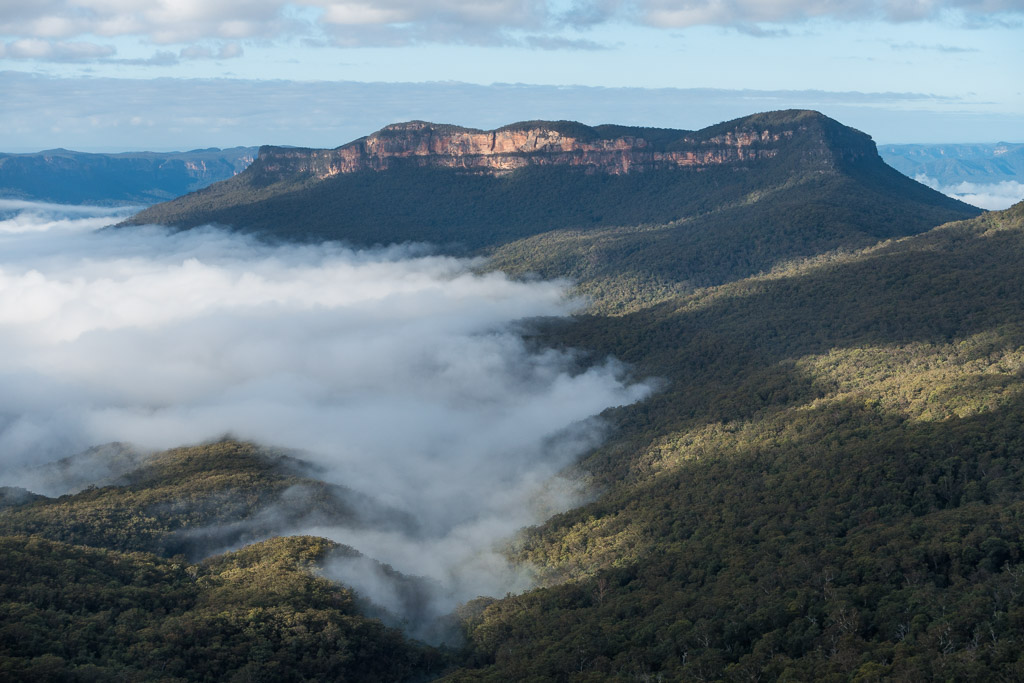
Above - Mt Solitary from further out on Narrow Neck
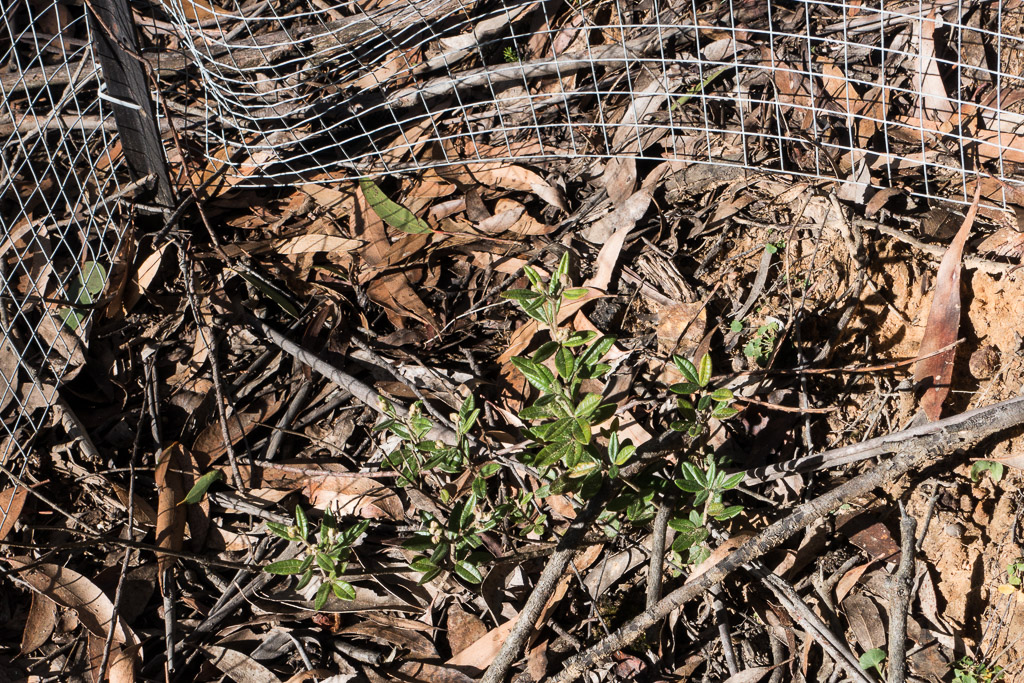
Above - At Coral Swamp we noticed these protected plants
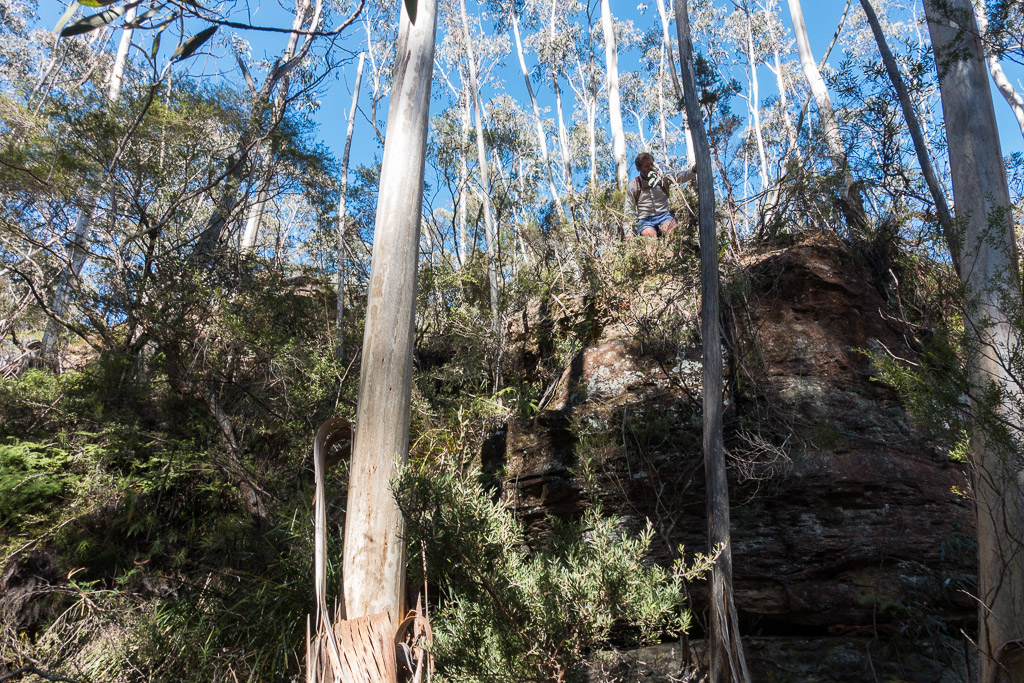
Above - Bob descending to Mitchells Creek
Above - Lower down the creek is the pass - which makes use of this
Coachwood tree.
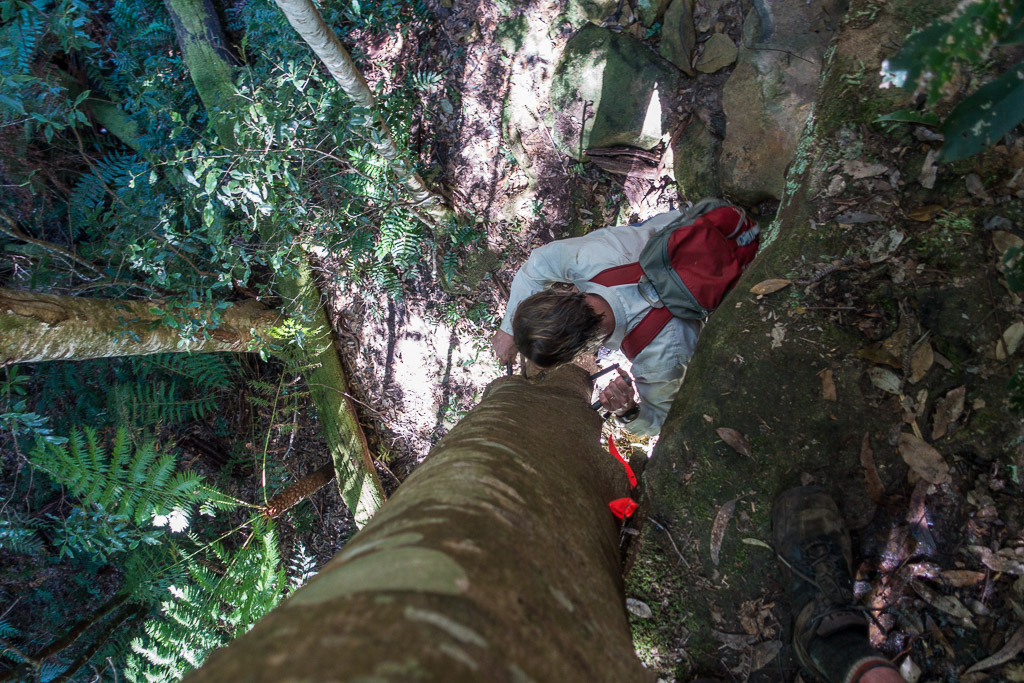
Above - You climb down the tree using spikes


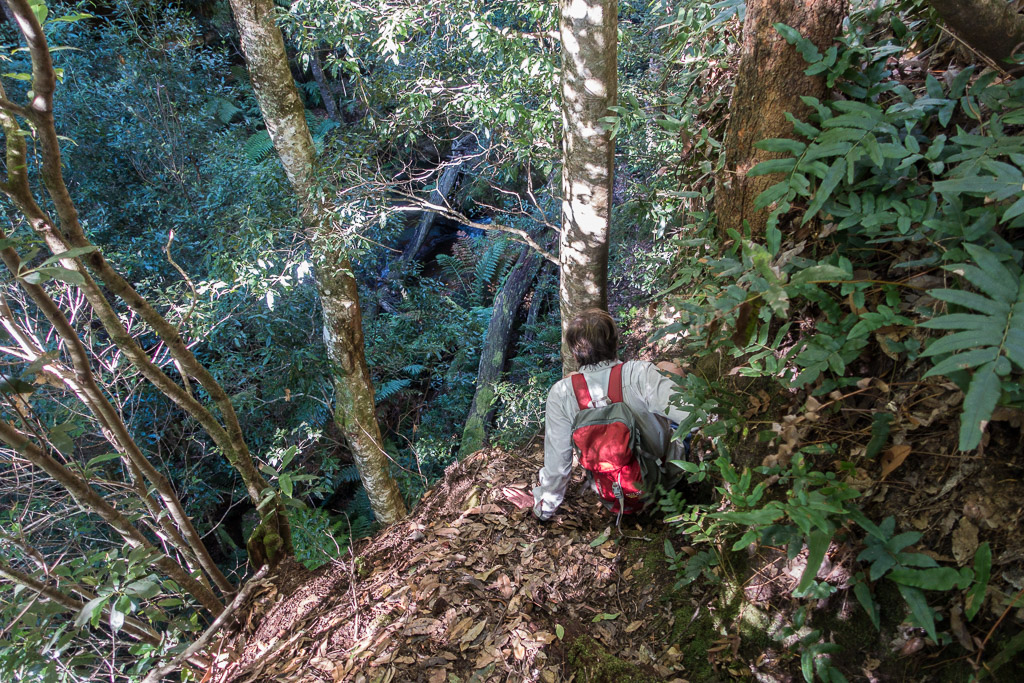
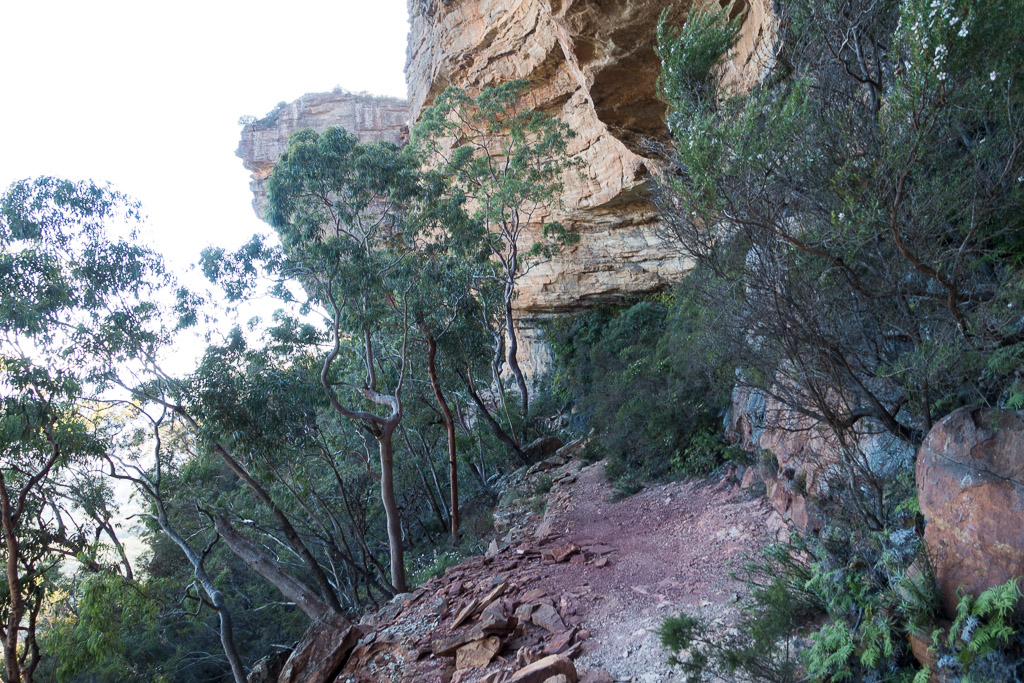
Above - We then traversed under the cliffs to Rock Pile Pass
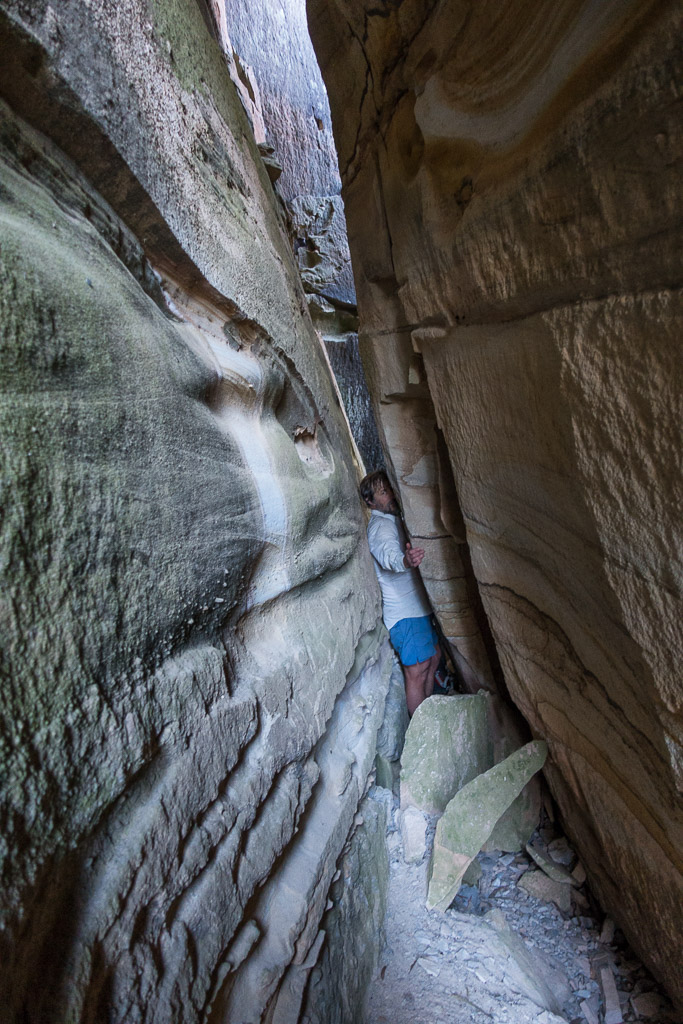
Above - This narrow bit save time

Above - Looking back at Mitchells Creek and Black Billy Head
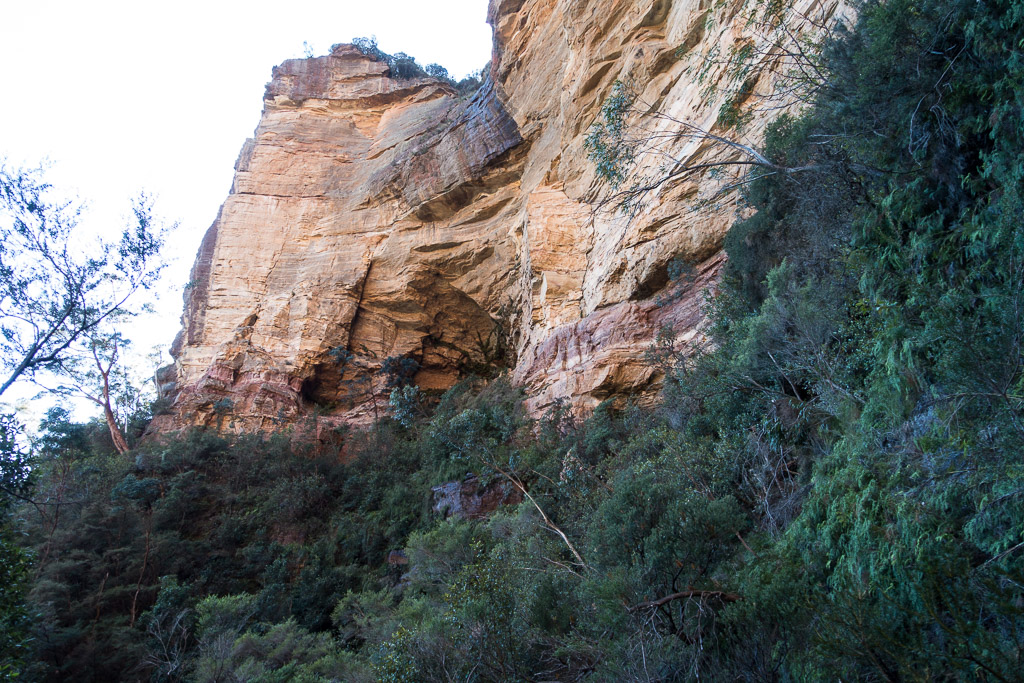
Above - The start of Rock Pile Pass - just left of the corner

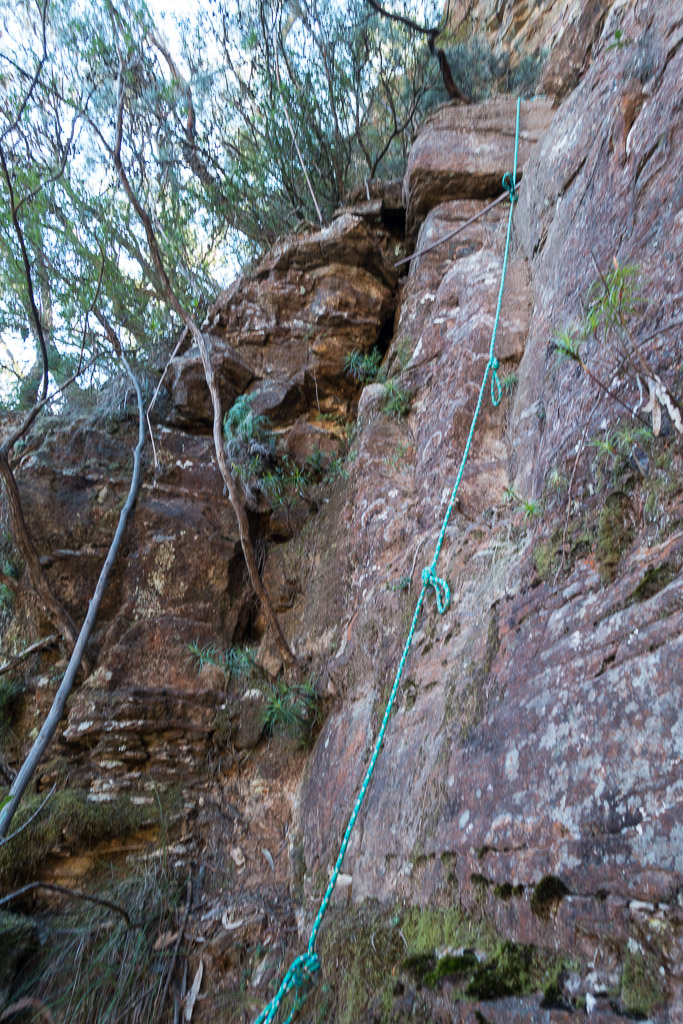
Above - Lower down are two sections where fixed rope has been
placed. You don't need to use the rope, but it does protect the
vegetation.
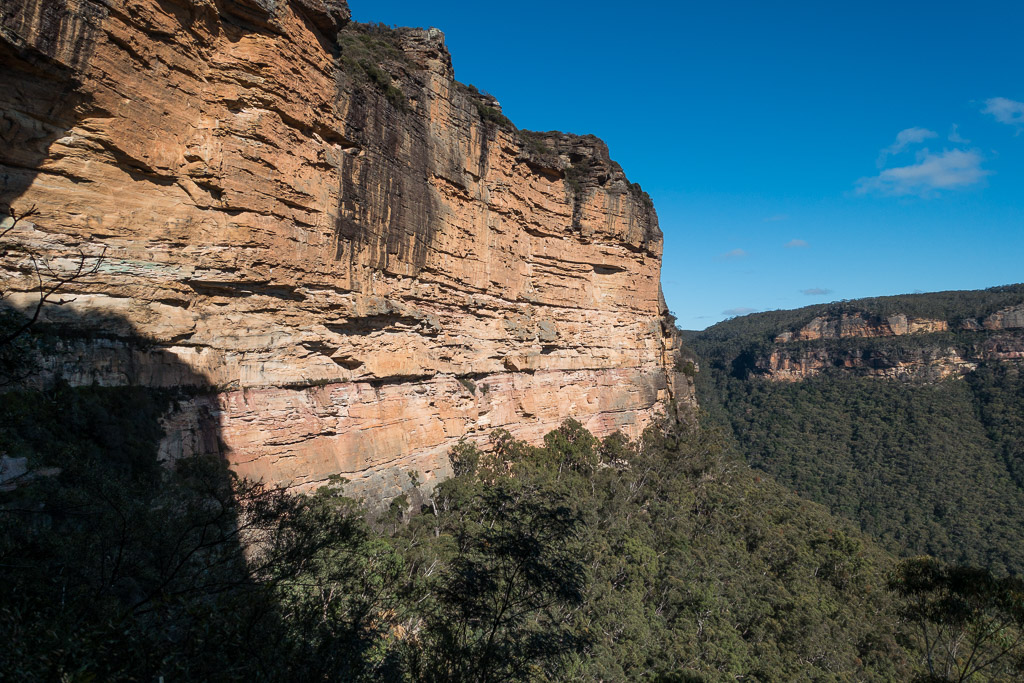
Above - Great views on the way up
Above - the second section
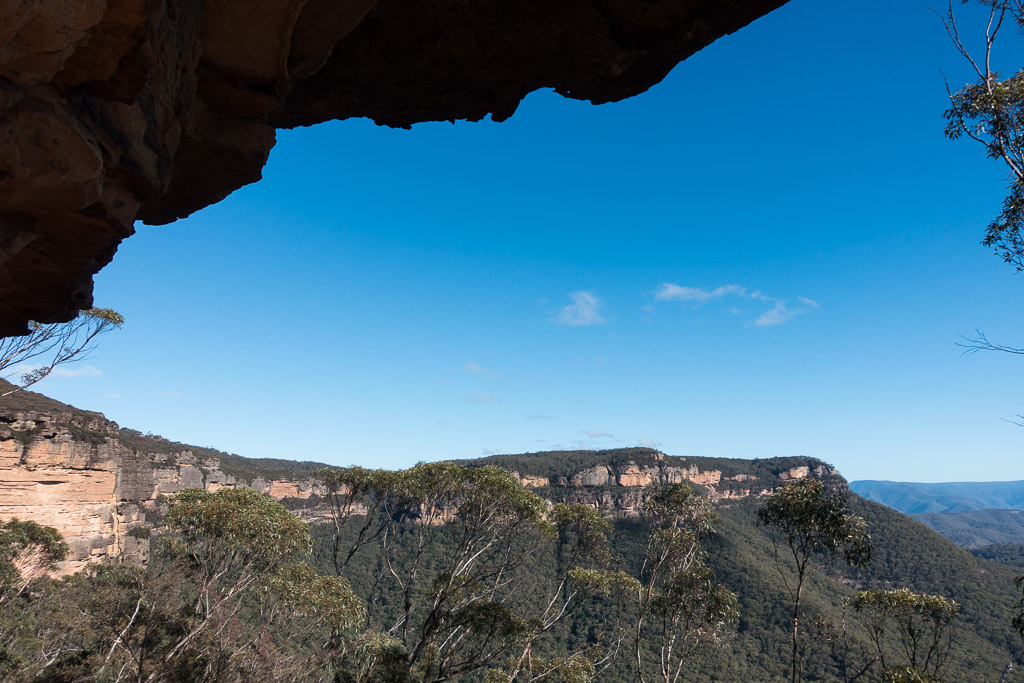
Above - This takes you to the half way ledge - and "The Farside"
climbing area.

Above - the Farside - sports climbing area

Above - Further along is the original rock pile

Above - Heath above the cliffs.
Return to david-noble.net