
Malabar Headland played an important part in the defence of Sydney during World War II. The artillery placed on the headland – the “Malabar Battery”, was one of a number of fortifications along the coast of Sydney that was built to defend Sydney against surface raiders.

A 6 inch gun from one of the other batteries
It was thought that enemy ships could approach Sydney and use their guns to shell important infrastructure such as the Sydney Harbour Bridge from outside the harbour. To prevent this a number of batteries were set up along the coast. The location of these batteries was –
- North Battery (North Head)
- Middle Battery (Middle Head)
- Hornby Battery (South Head)
- Signal Battery (south of The Gap)
- Malabar Battery (Malabar Headland)
- Banks Battery (just north of Cape Banks)
- Henry Battery (Henry Head)
Two of the batteries – The North Battery and the Banks Battery were equipped with 9.2 inch guns, all the others had 6 inch guns.
As well, a number of observation posts were set up –
- Brookvale Fortress Observation Post
- Blue Fish Fortress Observation Post (Blue Fish Point, North Head)
- Dover Heights Command Post and Fortress Observation Post
- Maroubra Fortress Observation Post
- Solander Fortress Observation Post (Cape Solander)
- Marley Fortress Observation Post (Royal National Park)
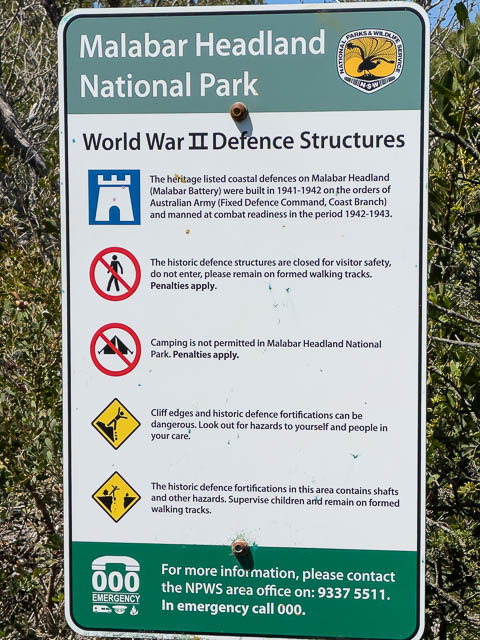
At Malabar Headland, a lot of this infrastructure has been preserved and is easy to visit.
My information about the Malabar Battery and the other fortifications along the Sydney Coast have been obtained from “We Stood and Waited, Sydney’s Anti-ship Defences 1939 – 1945” by R K Fulford.
At the Malabar Battery you can see –
- The emplacements for the two 6 inch guns.
- The Observation Post and other buildings
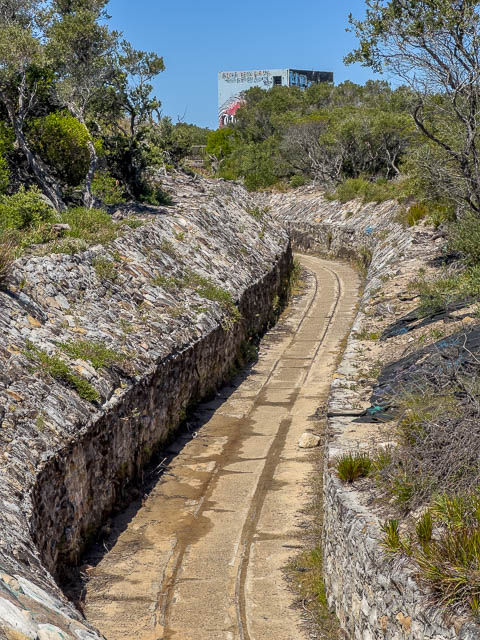
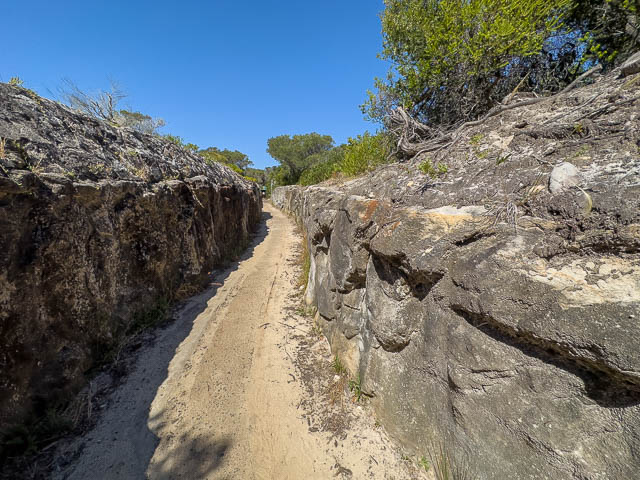
- A small gauge railway in a cutting and tunnel
- Two sets of searchlight blockhouses and their power supply buildings
The two large guns were set up in positions high on the headland. They were placed in concrete structures theatre still present. They guns were installed around 1942 and removed in the early 1960’s.
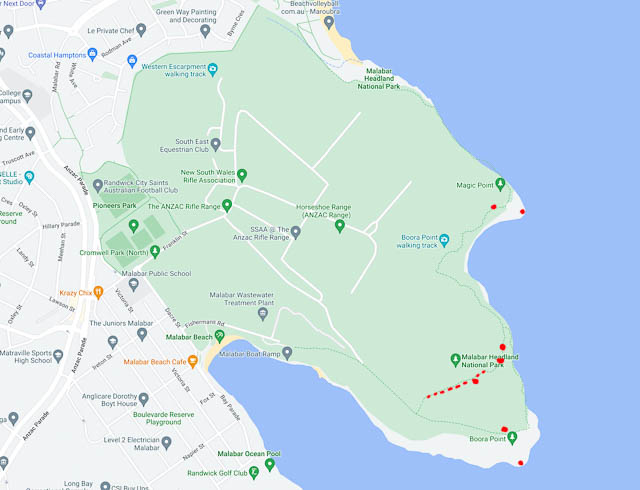
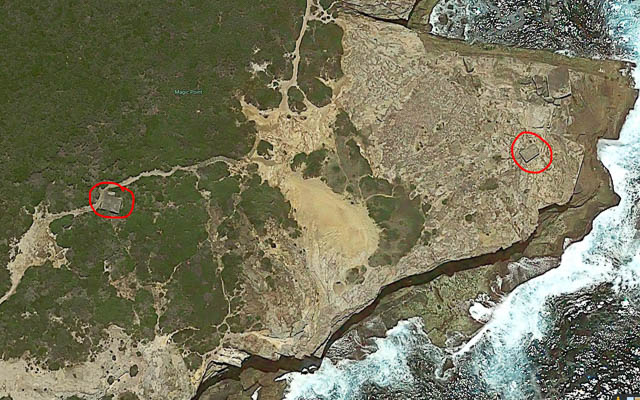
In the air photo below – the upper two red circles show the position of the gun emplacements –

The railway is shown by the dashed line and along it you can see the position of the Observation Post. The bottom red circle marks the position of the Boora Point Searchlight. A bit above that is its power supply building.
Here are the two gun emplacements –
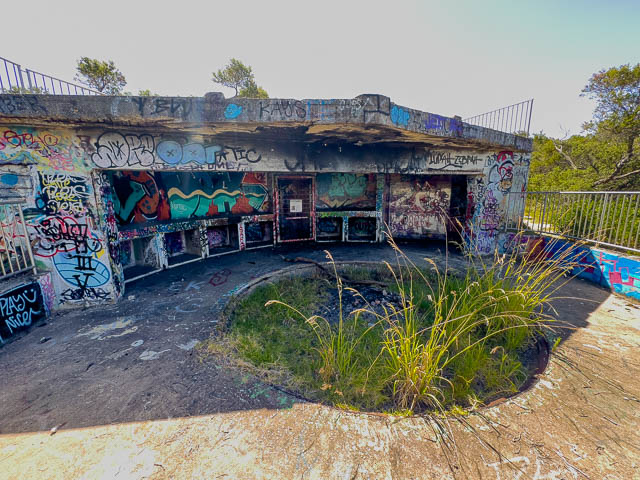

In each photo you can see where the gun was mounted. Each concrete structure has an access portal to the lower munitions bunkers and the railway. Note that the guns could not be rotated to shell inland.
Very few photos of the Battery seem to exist, as personal were not permitted to take cameras into the area. Here is one photo from Fulford of one of the Malabar guns –

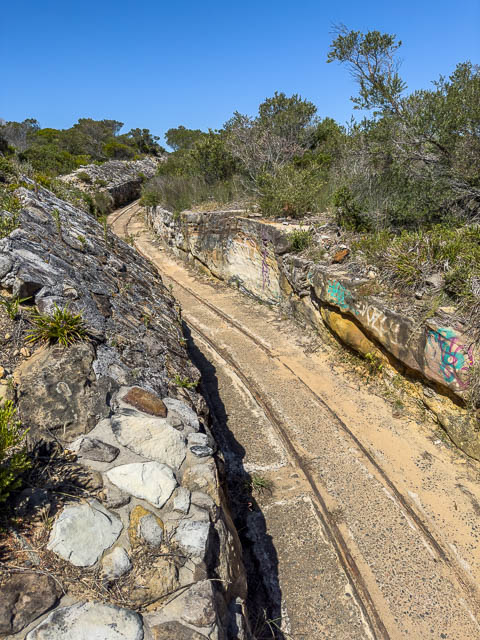
The Malabar Battery was situated next to a rifle range, and since the rifle range was constantly in use during the war, a lot of the infrastructure was protected from ricochets by the building being covered by dirt and concrete, and the railway being in a cutting.

Narrow Gauge Railway –

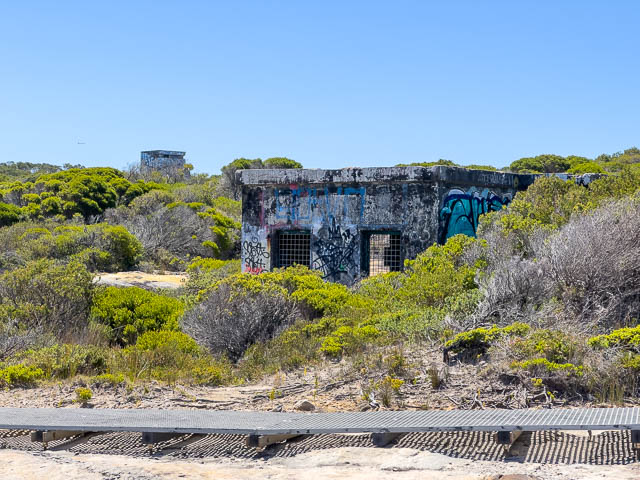
Below, you can see the The Battery Observation Post Complex.

You can look through a locked grill and see the access stairs to the higher levels of the Observation Post –


The Battery Observation Post Complex has 4 levels –
- Level 4 – Searchlight directing station
- Level 3 – Battery Observation Post
- Level 2 – Battery Commander’s night quarters
- Level 1 – Battery Plotting Room

The post would have been equiped with charts, tide tables, books on military boats, rangefinders, binoculars and telescopes, and telephones to the guns and the searchlights.
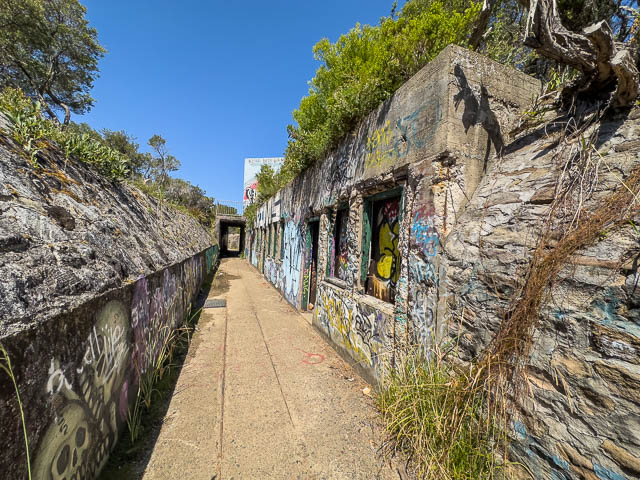
Along the cutting are some other buildings.

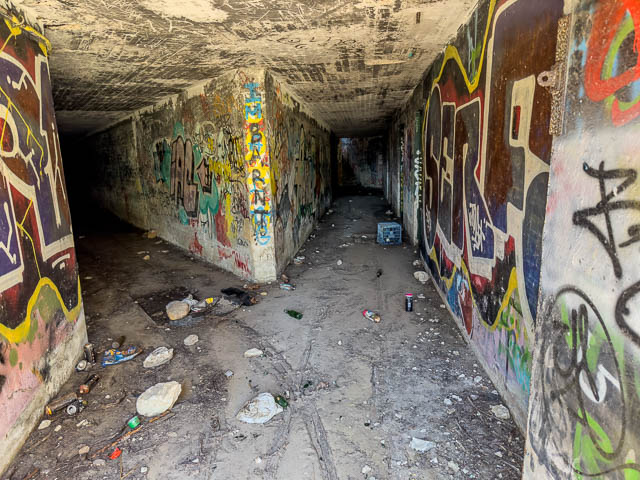
Then the railway enters this now closed tunnel.

Looking inside you can see the railway splits in two directions – to service each of the guns.
Here is a distant view of the Battery Observation Post Complex

Searchlights.
Two searchlights were installed on the headland as part of the battery. The searchlights were placed in concrete blockhouses with good views of the sea, and each had nearby separate buildings which housed a power supply – a diesel motor and generator.
It was desirable to place the searchlights at lower elevation to that of the guns, but also high enough they could avoid sea spay. This was easy to achieve on the Headland.
Here is the Searchlight structures near Boora Point. The left hand circle is the power supply building. The right hand circle is the Searchlight Blockhouse. The un-circled structure is a Sydney Water building associated with the ocean outfall.
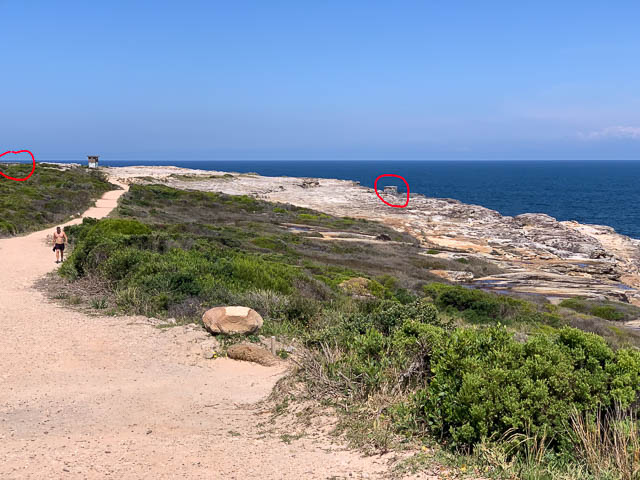
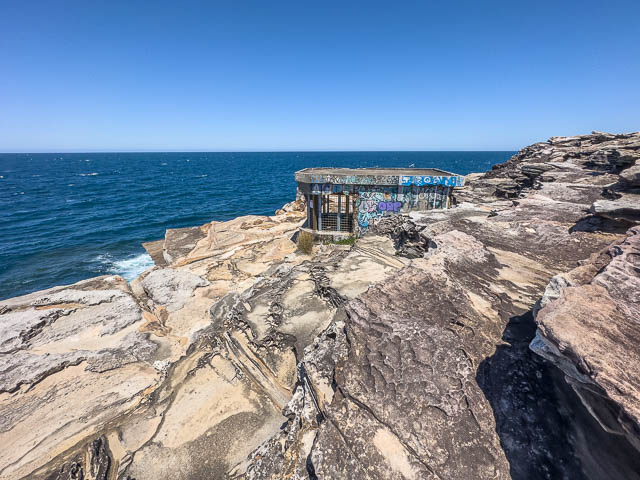
Boora Point Searchlight Blockhouse –


In the photo below you can see the power supply building for the searchlight and behind that the Battery Observation Post Complex.
Magic Point Searchlight Blockhouse –

On the air photo below – the right hand circle marks the Searchlight Blockhouse, the left circle marks the power supply building.
Here is the power supply building –

Each of the power supply building was sufficient to power both of the searchlights, and cables were installed from each building to the far searchlight in case one power supply was out of action.
All of the buildings would have been accurately surveyed as part of the range finding system for the guns.
Dear David, as it turned out, today I took my grandchildren to the Malabar Defense Structures. My older grandson (10) had requested a second trip to the ‘trench’ and was exited to read up on the railway and various buildings in your blog. So, thank you very much for the detailed explanation.
PS I have been reading your bird blogs for some time, and as someone who has taken up birding and bird photography later in life, they have often been a very useful guide.
Wonderful Blog David, I have enjoyed reading it. I spent many hours exploring that area whilst living on the range from ’81 to ’95 finding many WW2 era relics and coinage among the undergrowth and structures.
Whilst living in our Anzac range clubhouse during ’80s I recall the Navy? briefly contracted a Mr Greg Solomon et al to upkeep Malabar Headland structures, tunnels and railway cuttings. He made residence inside the battery fortress observation post and even though being regularly thwarted by hoons, his team made a decent attempt at restoration. i helped in the unearthing of the tunnels etc.